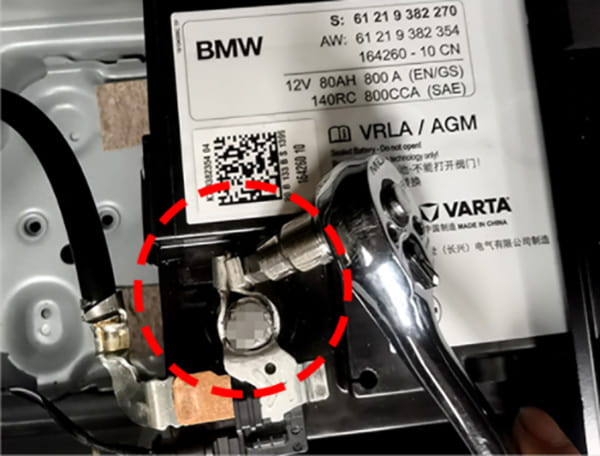
Warning! Power off before installation to avoid short circuit risk.
Open the trunk soundproof cover and disconnect the negative pole of the battery.
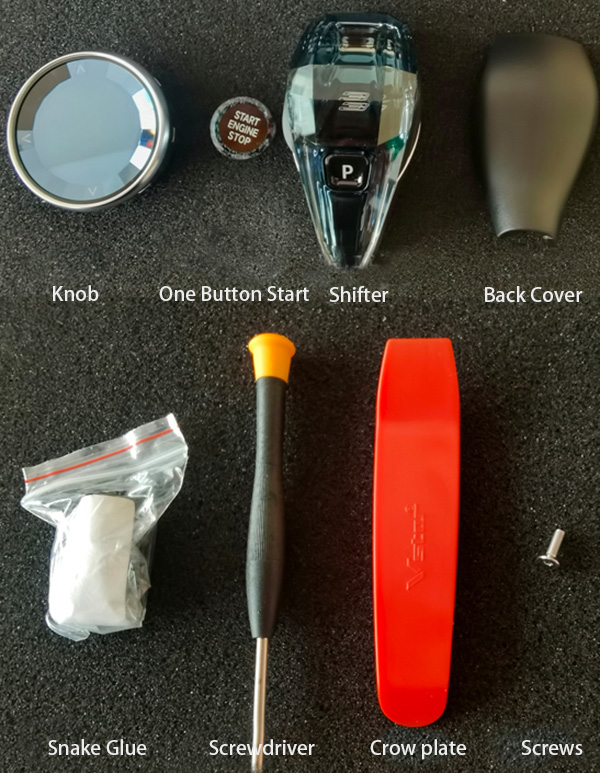
2. Open the packing box of the crystal set, confirm the quantity of all products and accesories (knob, one-button start, shifter, back cover, snake glue, screwdriver, crow plate, screws)
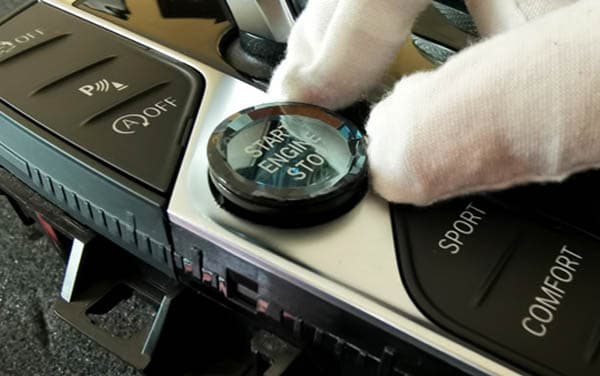
3. Take out the black snake glue, shape it into a cone, and press it firmly on the original start button(Do not pull it out at the moment, it takes 15 minutes for the snake glue to release its viscosity)
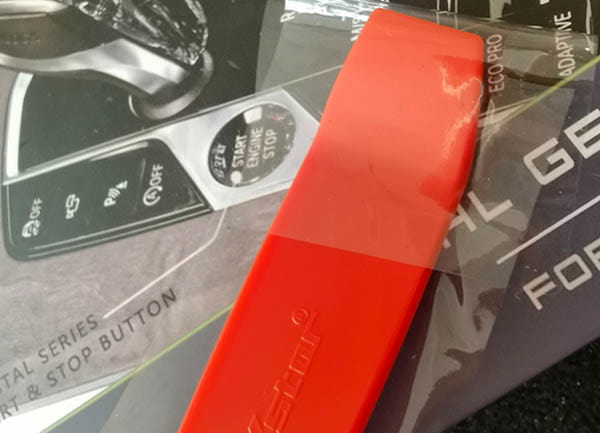
4. Tear off the crystal shield and wrap the electrostatic film around one end of the crow plate for subsequent construction.
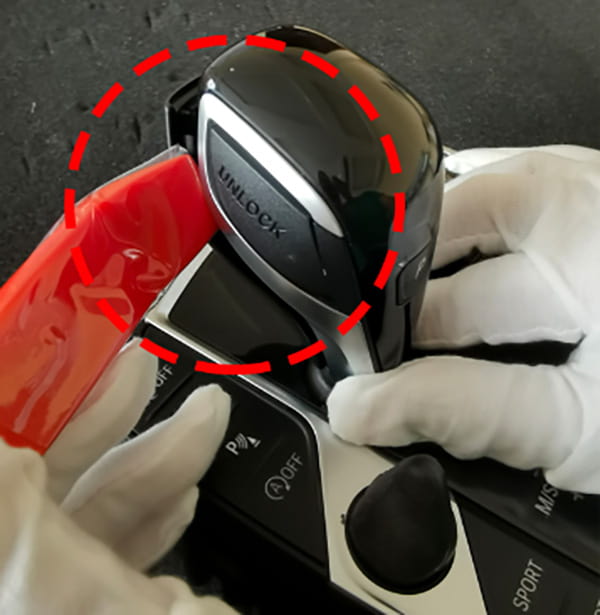
5. Open the back cover of the original car shifter.
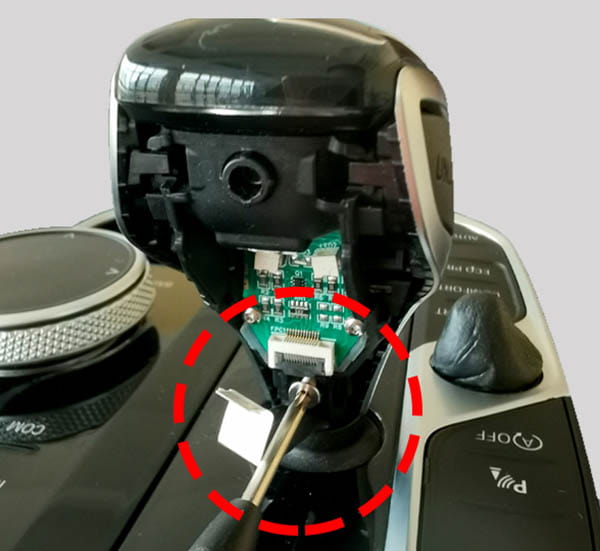
6. Open the cable buckle upward and separate the cable from the card slot. Find the screw hole behind the cable and unscrew the screw with a professional screwdriver in the fitting box.
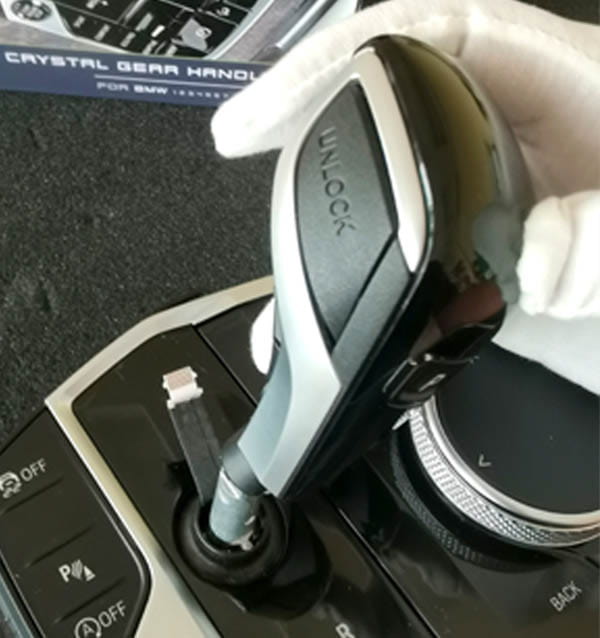
7. Pull out the original shifter upward,and insert the crystal shifter to restore the above operations.
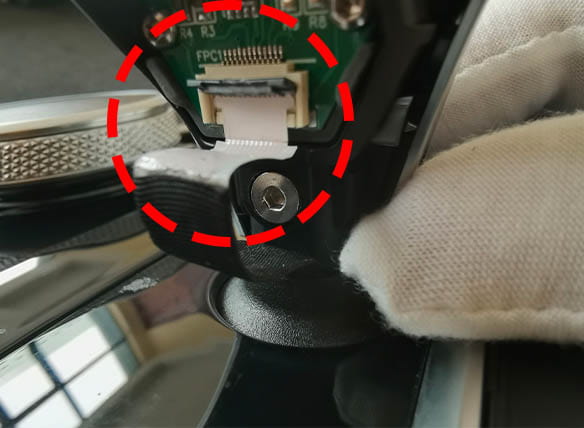
8. Ensure that the original wiring is correctly inserted into the crystal baffle chip card slot, and fasten the wiring buckle. Then cover the rear cover to end the stopper installation.
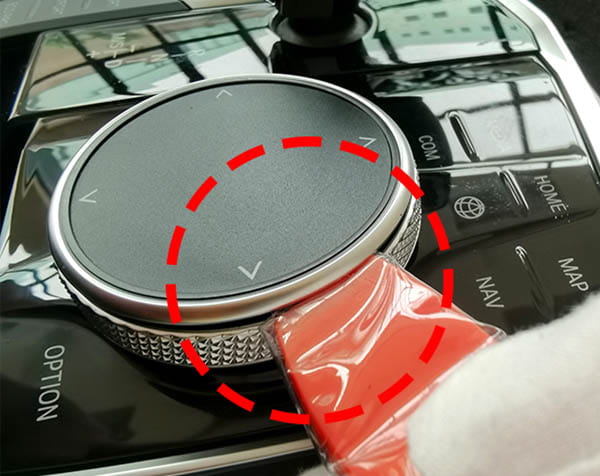
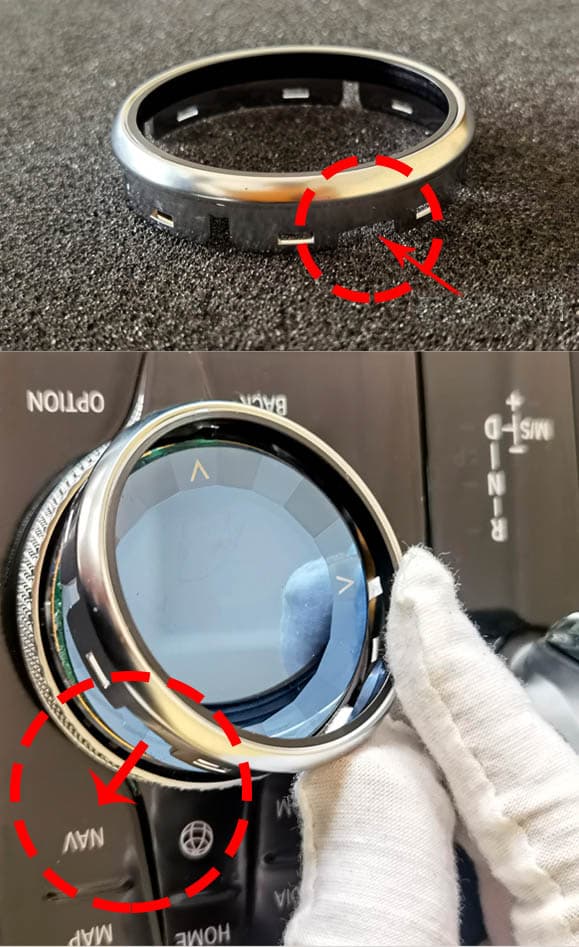
9. Pry open the upper cover of the multimedia knob with the side of the pry board (remember that the computer board under the upper cover writing board is connected with the main body of the knob with a short row of lines and the use of the tilt board should not be too large , and it is appropriate to find two or three diagonal points to separate the upper and lower buckle relationship, and then separate all the upper cover buckle one by one)
10. After separating from the upper cover of the original car knob, hold the edge of the black handwritten area with your finger, lift the electroplated outer ring of the upper cover to separate it, and remove the outer ring.
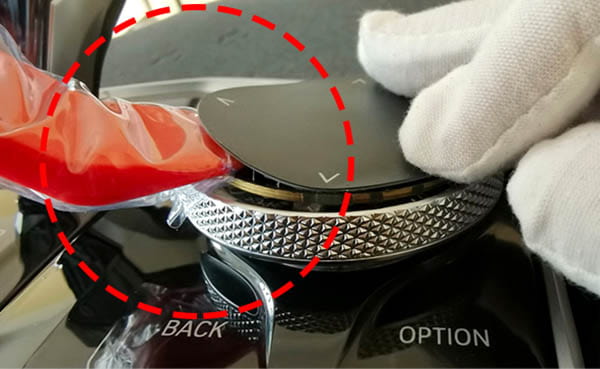
11. Heat the black handwritten area of the knob properly with a low-temperature oven gun or a hair dryer to softenthe glue on the lower layer of the black soft plastic sheet slightly.
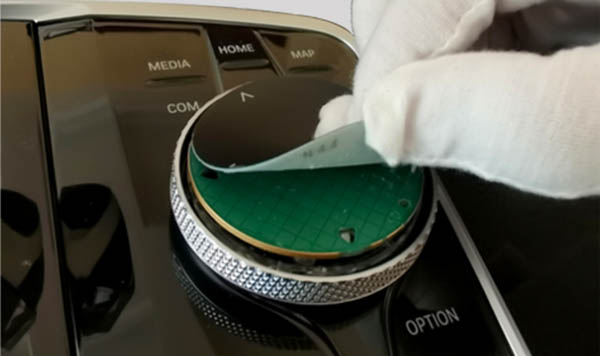
12. Completely tear the plastic sheet on the surface of the computer board and clean the residual glue on the computer board to ensure the sensitivity of the handwriting function to be installed again. (the computer board and transparent plastic parts in the knob may be displaced during the above process, and the fixed point can be stuck according to the original position)
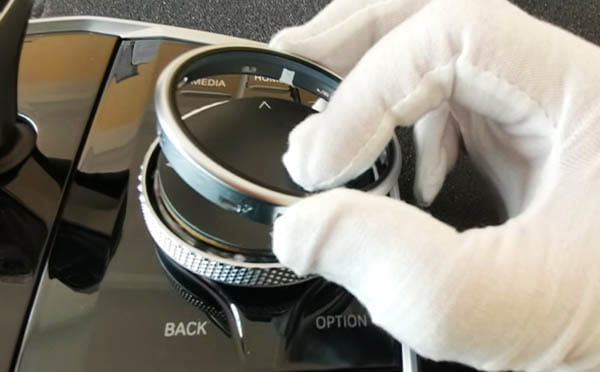
13. Tear off the crystal knob lens front protective film and 3M glue on the back, the four-direction arrow, and computer board on the direction of the hole alignment and bonding. (This step is irreversible, the crystal arrow knob under the transparent layer must be aligned)
14. Align the wide gap in the plating ring with the position of two o ‘clock, and the other four small gaps around the upper and lower positions with the cross position. Press the buckle lightly to complete the installation of the knob.
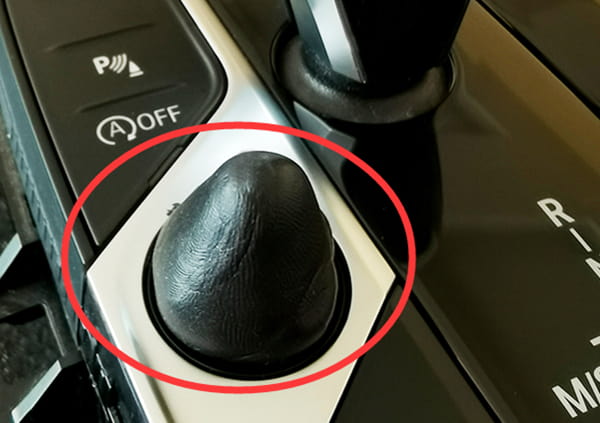
15. Pull out the start button of the original vehicle upward quickly, and buckle the crystal start button, so that all three sets of crystal have been installed.
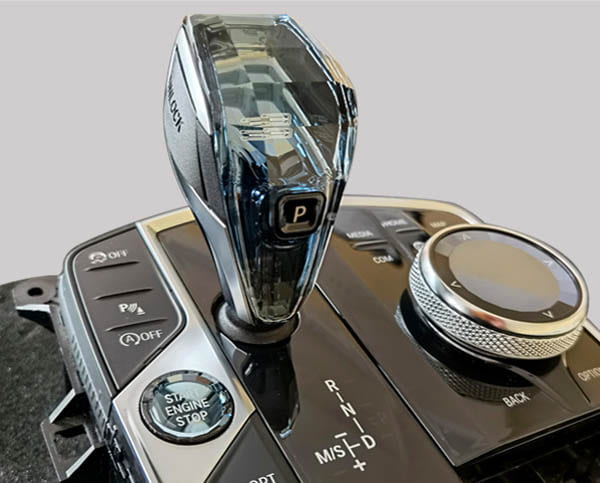
16. Connect the battery negative pole, readjust the system time, and start your crystal shifter journey.
If you need the Video Installation Guide, please click here.